Remove Bleedthrough in IrfanView If you’re dealing with scanned images that have unwanted bleedthrough, don’t worry! In this blog, we’ll show you how to remove bleedthrough in IrfanView easily. Whether you’re scanning old documents or photos, bleedthrough can make your image look messy. But with the right tools, like IrfanView, you can fix it in just a few simple steps.
IrfanView is a free image viewer and editor that lets you do many things, including removing unwanted bleedthrough. This quick guide will walk you through the process, so you can make your images look clean and professional again. Let’s dive in and learn how to get rid of that bleedthrough!
What is Bleedthrough and How Does it Affect Your Scanned Images
Bleedthrough happens when the ink or text from the other side of a paper shows through and makes your scanned image look blurry or messy. It’s common in old documents or photos where the paper is thin. When you scan such an image, the bleedthrough can make it hard to read or see the details clearly.
Bleedthrough can make your digital files look unprofessional, especially if you want to share or print them later. It can affect the quality of your scan and make your work look untidy. But the good news is, you can fix this problem with the right tools, and one such tool is IrfanView. Let’s find out how!
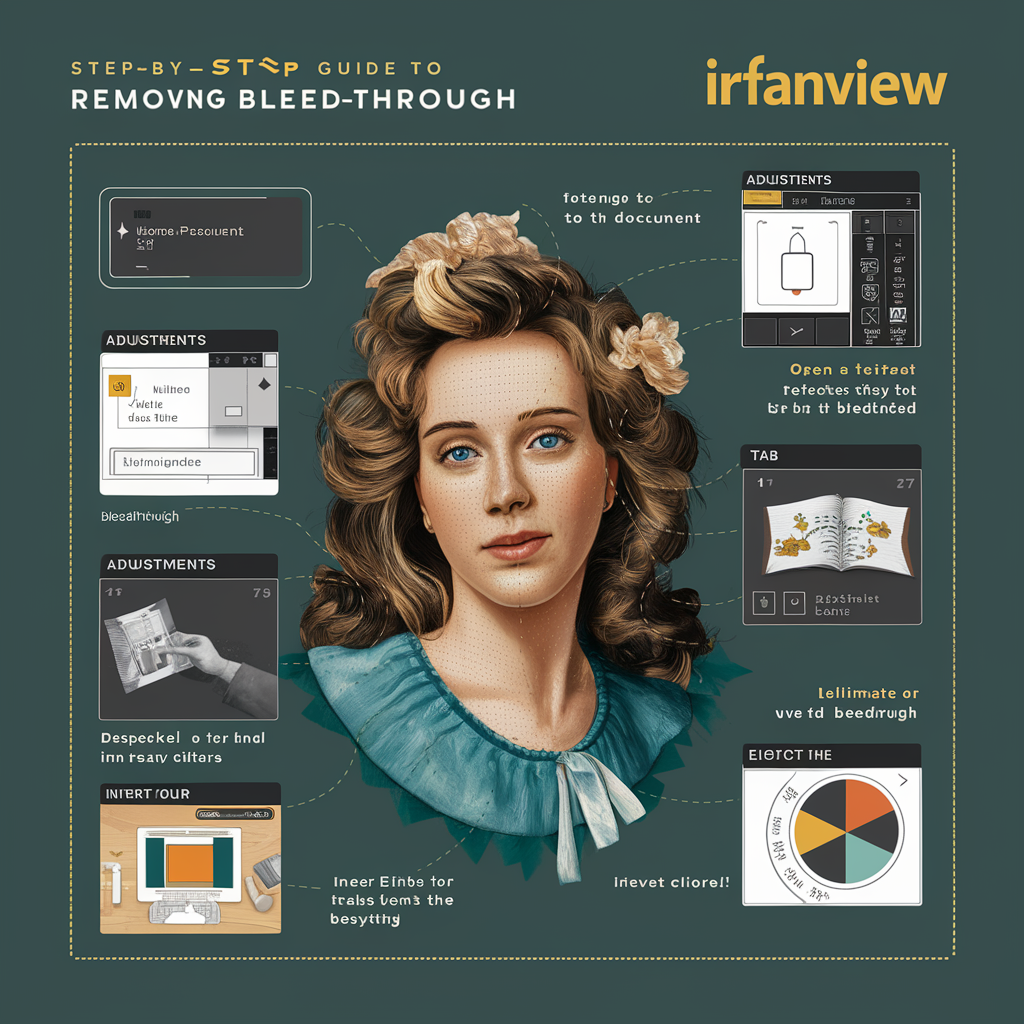
Step-by-Step Guide: How to Remove Bleedthrough in IrfanView
To remove bleedthrough in IrfanView, you first need to open your scanned image. Just launch the program, click “File”, and select “Open”. Find your image and click “OK.” Then, it’s time to use the editing tools.
Now, you can adjust the brightness and contrast to make the bleedthrough less noticeable. You can also use the “Auto adjust colors” tool to improve the overall quality of your image. If the bleedthrough is still visible, try using the “Crop” tool to cut out parts of the image that are too affected by bleedthrough. This is an easy way to make your image clearer and more professional.
Understanding the Tools in IrfanView to Fix Bleedthrough
IrfanView has many helpful tools to remove bleedthrough in IrfanView and improve your scans. These tools include brightness, contrast, and sharpness adjustments. Each of these tools can help reduce the appearance of bleedthrough.
Brightness and Contrast: Adjust these settings to make the text stand out more and reduce bleedthrough.
Color Adjustments: Use the color correction tools to make sure the background is neutral and the text is easy to read.
Crop Tool: Use this to cut away parts of the image where the bleedthrough is too much to fix.
With these tools, you can make your image much cleaner and easier to use.
Tips and Tricks to Avoid Bleedthrough in Future Scans
If you want to prevent bleedthrough from happening in future scans, there are a few things you can do. First, make sure the paper you are scanning is thick enough to reduce the chance of bleedthrough. You can also use a high-quality scanner to get better results.
Use Thick Paper: If possible, choose thicker paper for printing or scanning to avoid bleedthrough.
Adjust Scanner Settings: Many scanners allow you to adjust settings like brightness and contrast before scanning. These settings can help reduce bleedthrough.
Check Scanner Quality: A higher-quality scanner will produce clearer images with fewer bleedthrough problems.
These tips will help keep your scans clean and clear in the future!
Conclusion
In conclusion, removing bleedthrough in IrfanView is simple and easy. IrfanView offers great tools to fix any scanned image, whether it’s photos, documents, or other images. By following the steps in this guide, you can get rid of unwanted marks and improve the quality of your images.
By using these tips and tools, you can make sure your scanned images are perfect every time. Remember to always check your scanner settings and use thicker paper to avoid bleedthrough in the future. Now you’re ready to improve your scanned images with IrfanView!
FAQs
Q: What is bleedthrough
A: Bleedthrough happens when ink or text from the other side of the paper shows through and makes your scanned image unclear.
Q: How can I remove bleedthrough in IrfanView
A: You can remove bleedthrough in IrfanView by adjusting brightness and contrast, using the “Auto adjust colors” tool, or cropping parts of the image.
Q: Is IrfanView free to use
A: Yes, IrfanView is free to download and use, making it a great tool for fixing images.
Q: Can I use IrfanView to fix other image problems
A: Yes, IrfanView can help with many other image issues, such as resizing, cropping, and adjusting colors.
Q: How do I avoid bleedthrough when scanning
A: To avoid bleedthrough, use thicker paper and adjust your scanner settings for better quality scans.